cheers Spud
RAM mount mod
-
Redmurty
- Posts: 11717
- Joined: Thu Oct 28, 2010 6:44 pm
- Has thanked: 337 times
- Been thanked: 153 times
Re: RAM mount mod
natural rubber mixed with Mercury and nuclear waste, remember cutting one open in mom's living room it left a lovely pattern of rubber on the ceiling she left a lovely pattern on my arse :pinch:
cheers Spud
cheers Spud
Life... it's not a dress rehearsal
You don't waste time... you waste yourself
You don't waste time... you waste yourself
Re: RAM mount mod
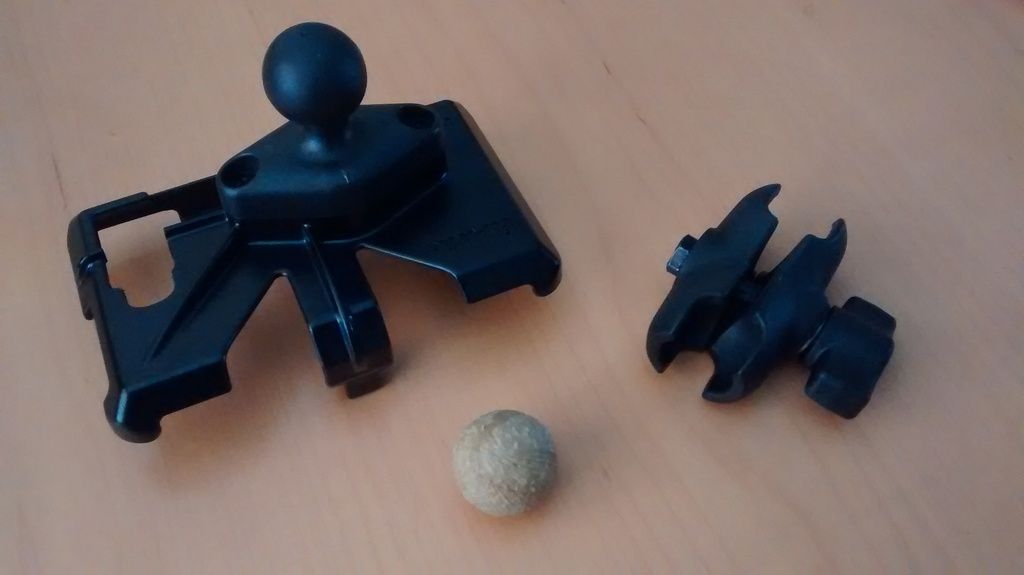
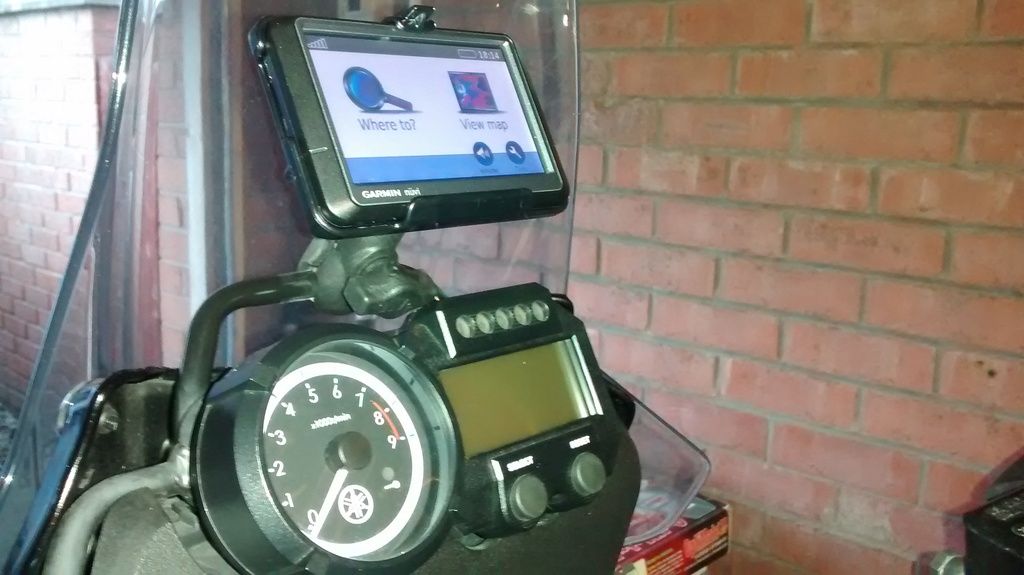
thanks for sharing, (thumbs)Rider-Man wrote:I would like to share a “hack” that I used to mount my SatNav to my XT660Z Ténéré, which I think worked out rather well.
You will need:Start with a decent quality golf ball. It doesn't have to be new, but we need the core that only the better branded balls seem to have. The cheaper, “driving range” balls are solid all the way through.
- 1 good quality golf ball
- hacksaw
- sharp knife
- drill press (or a steady hand) and drill bits up to 12mm
- sharpie (optional)
Use a hacksaw to saw a groove along the circumference of the ball. Not too deep – only about 3-5mm, as we are only removing the cover at this point.
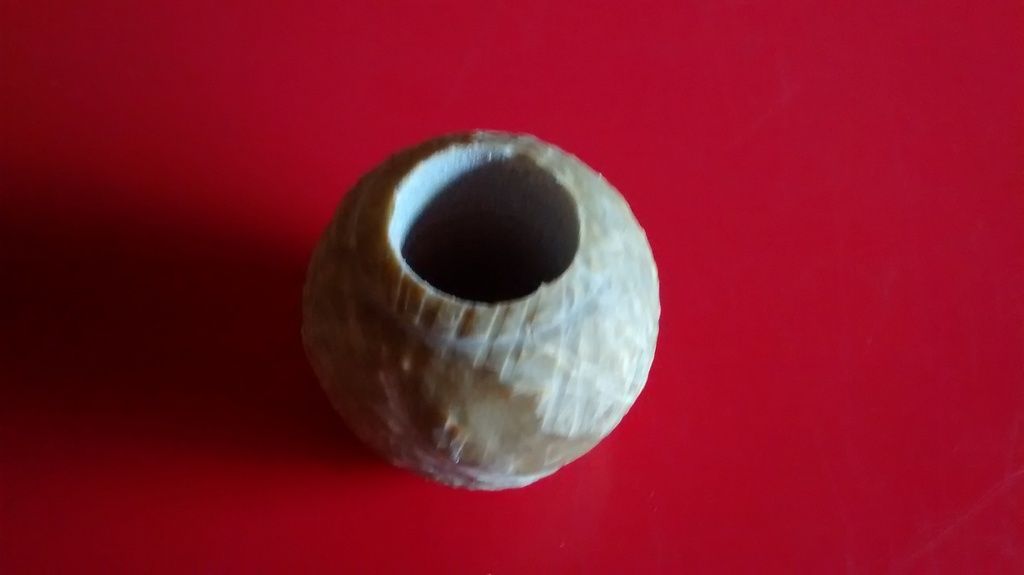
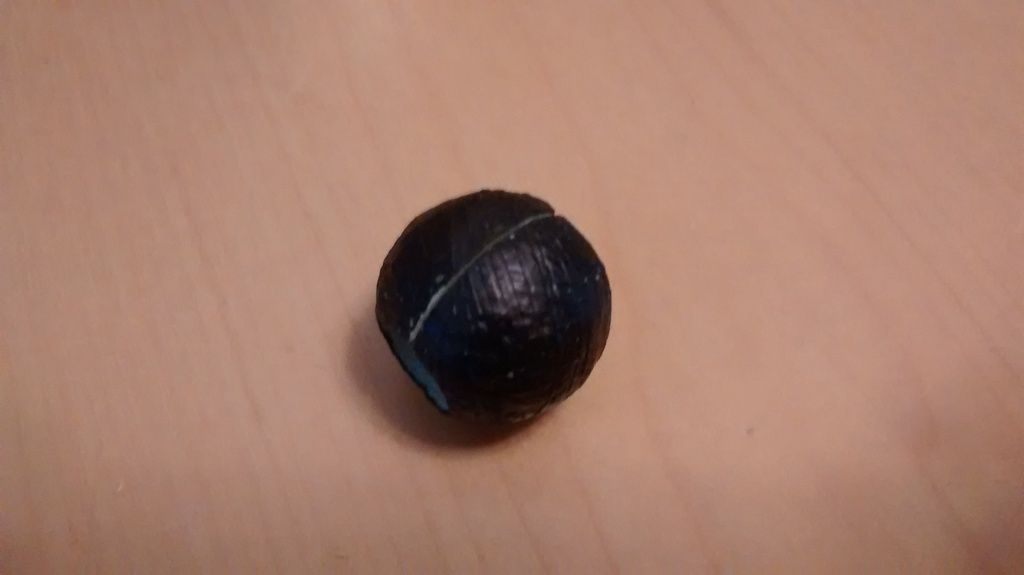
Once you've removed the cover you should see what looks like a ball of rubber bands. Use a knife to remove the rubber band wrapping. This will leave you the core; a solid rubber ball almost exactly the same size as a 1” RAM ball mount.
Next, drill a 12mm hole through the ball. I started by drilling a pilot hole with my smallest drill bit, then worked up through the sizes until I got to 12mm.
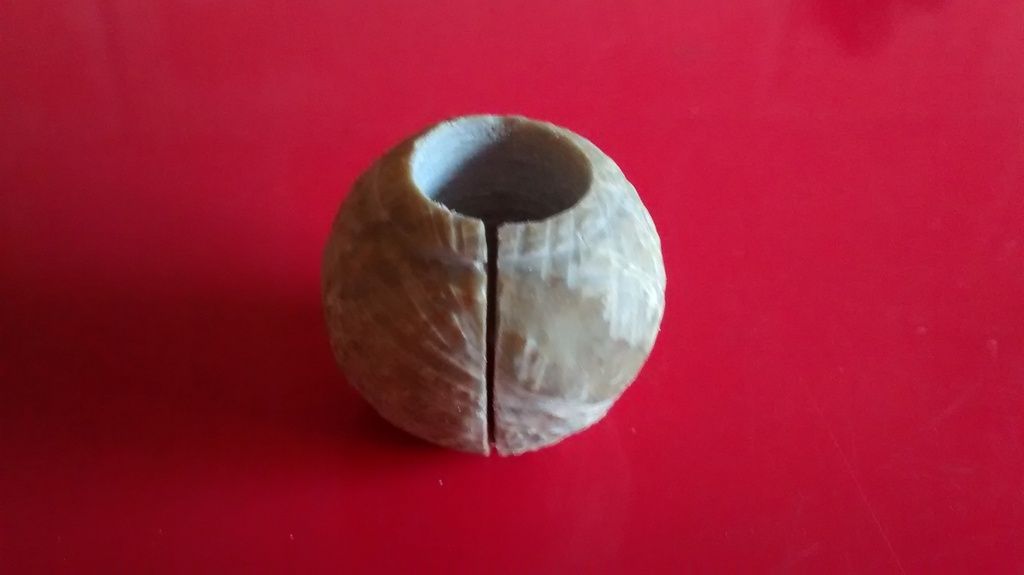
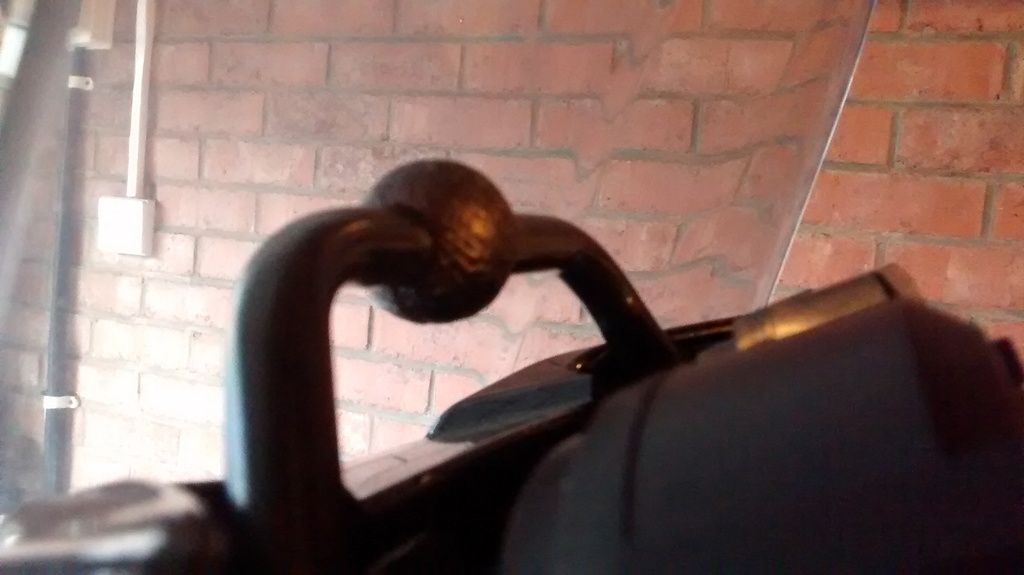
Cut a slot with the hacksaw in one side of the ball, parallel to the hole of course, so you can slip the ball over the rail above the instruments.
You can paint the ball to match your bike at this point if you wish. I used a sharpie to colour mine.
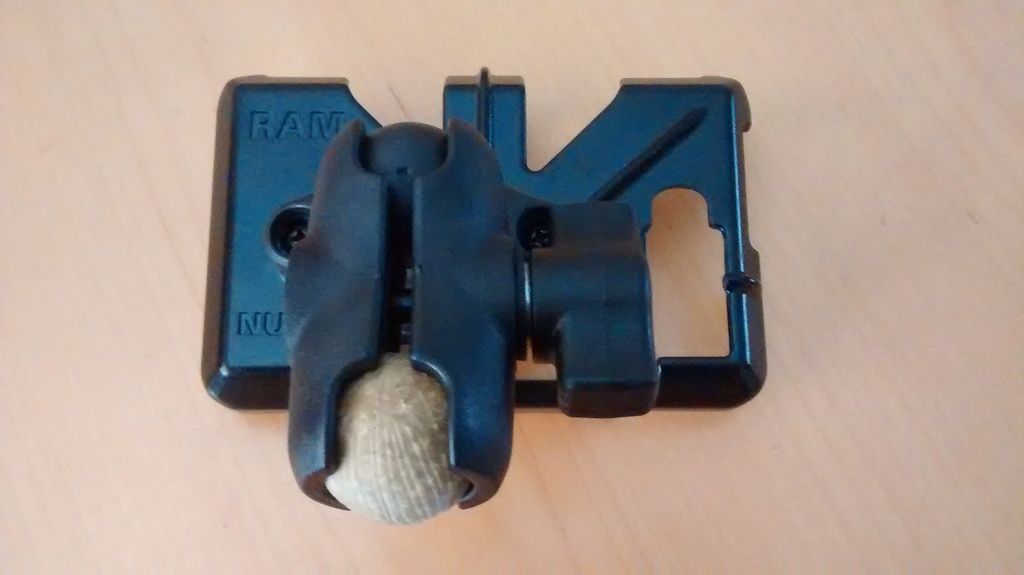
Finally, fit the ball to the rail, then the RAM extension arm over the ball and install your GPS. Job done!
(apologies for the poor quality photos)